Building Your First Gaming PC: A Beginner's Guide

Assembling your own high-performance gaming computer can be an exciting and rewarding experience. This step-by-step guide will walk you through the process, ensuring you create a powerful machine optimized for maximum gaming performance.
1. Gather Your Components
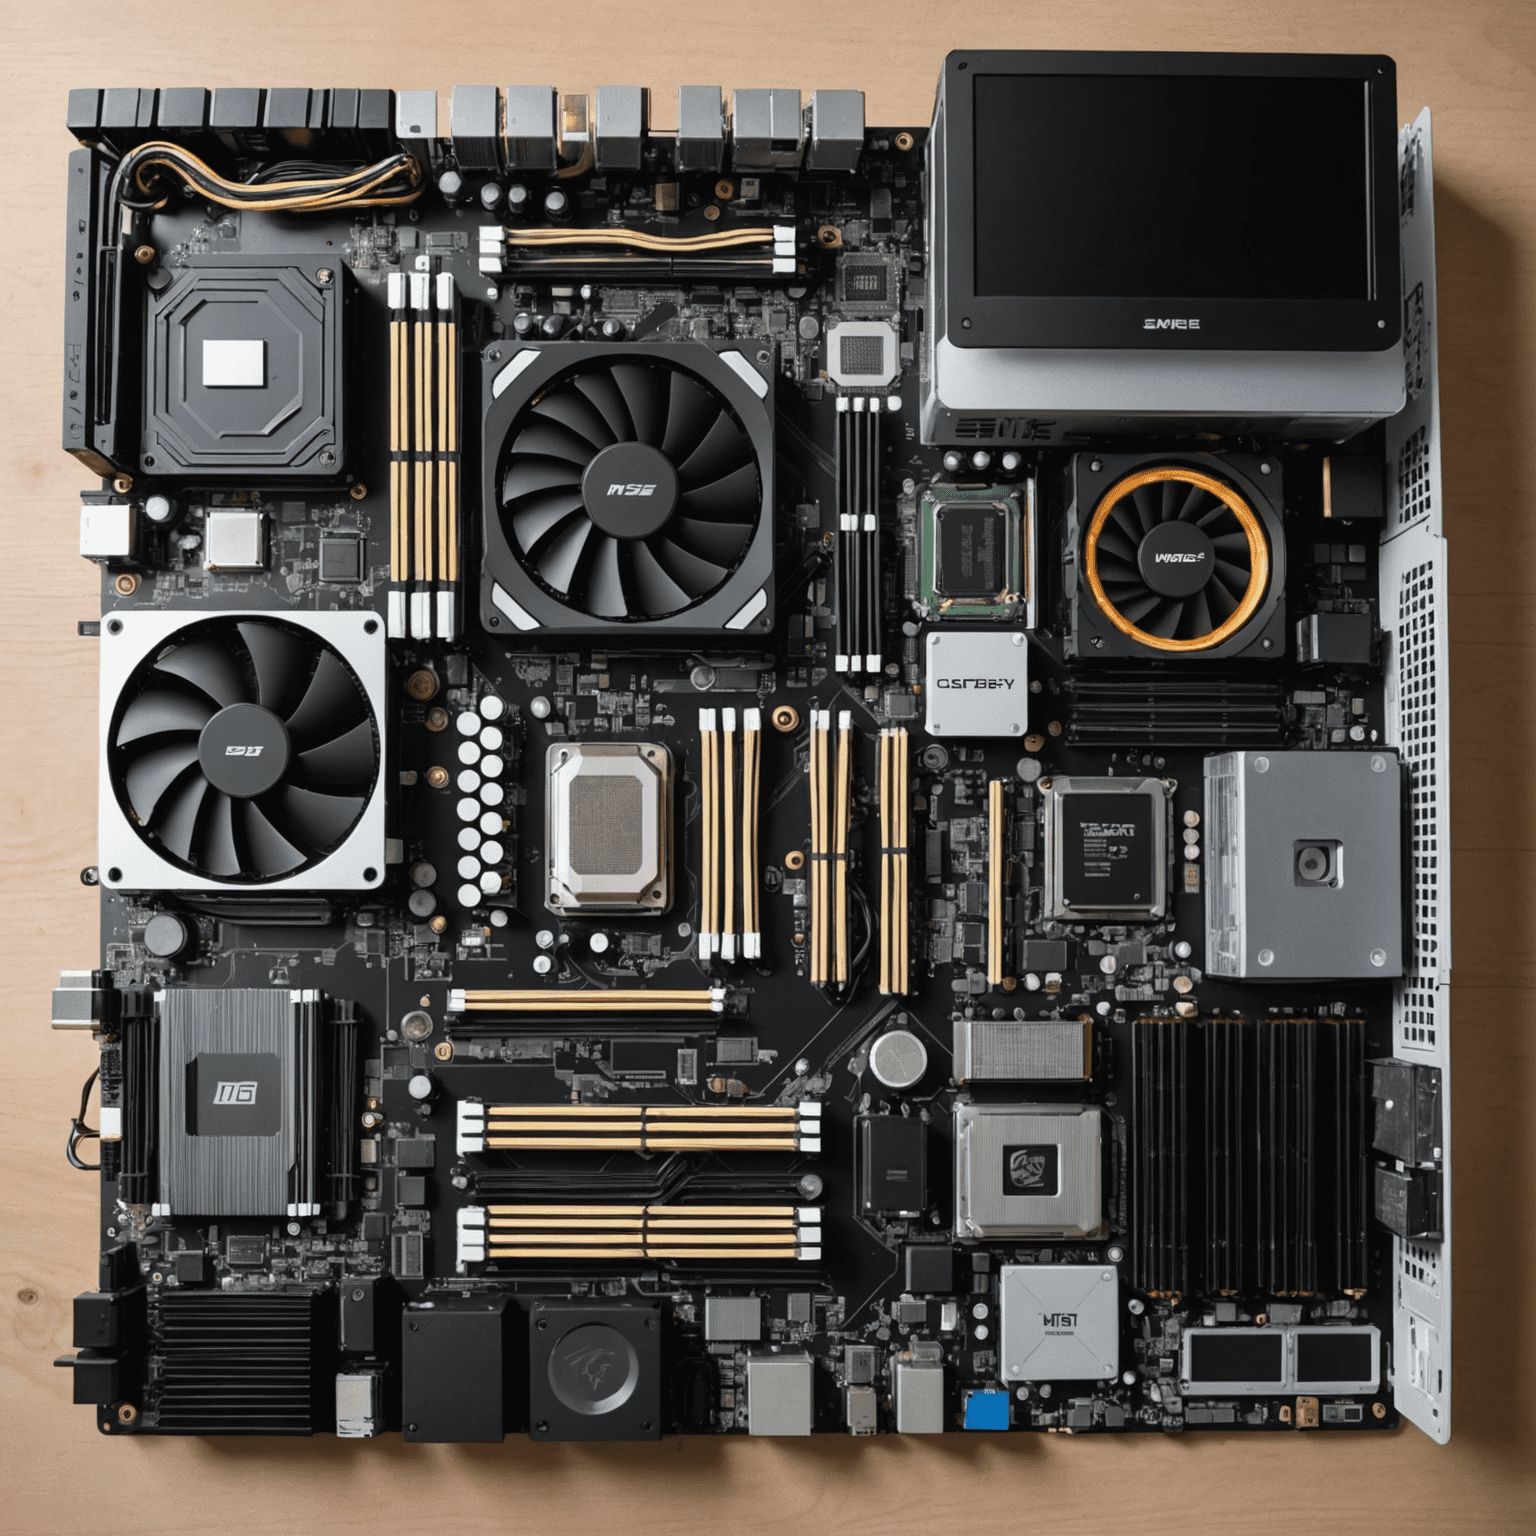
Before you begin, make sure you have all the necessary parts:
- Motherboard
- CPU (Central Processing Unit)
- GPU (Graphics Processing Unit)
- RAM (Random Access Memory)
- Storage (SSD and/or HDD)
- Power Supply Unit (PSU)
- Computer Case
- CPU Cooler
- Thermal Paste
- Screwdrivers and other tools
2. Prepare Your Spacespace
Set up a clean, well-lit area with plenty of space. Ground yourself to prevent static electricity damage to components.
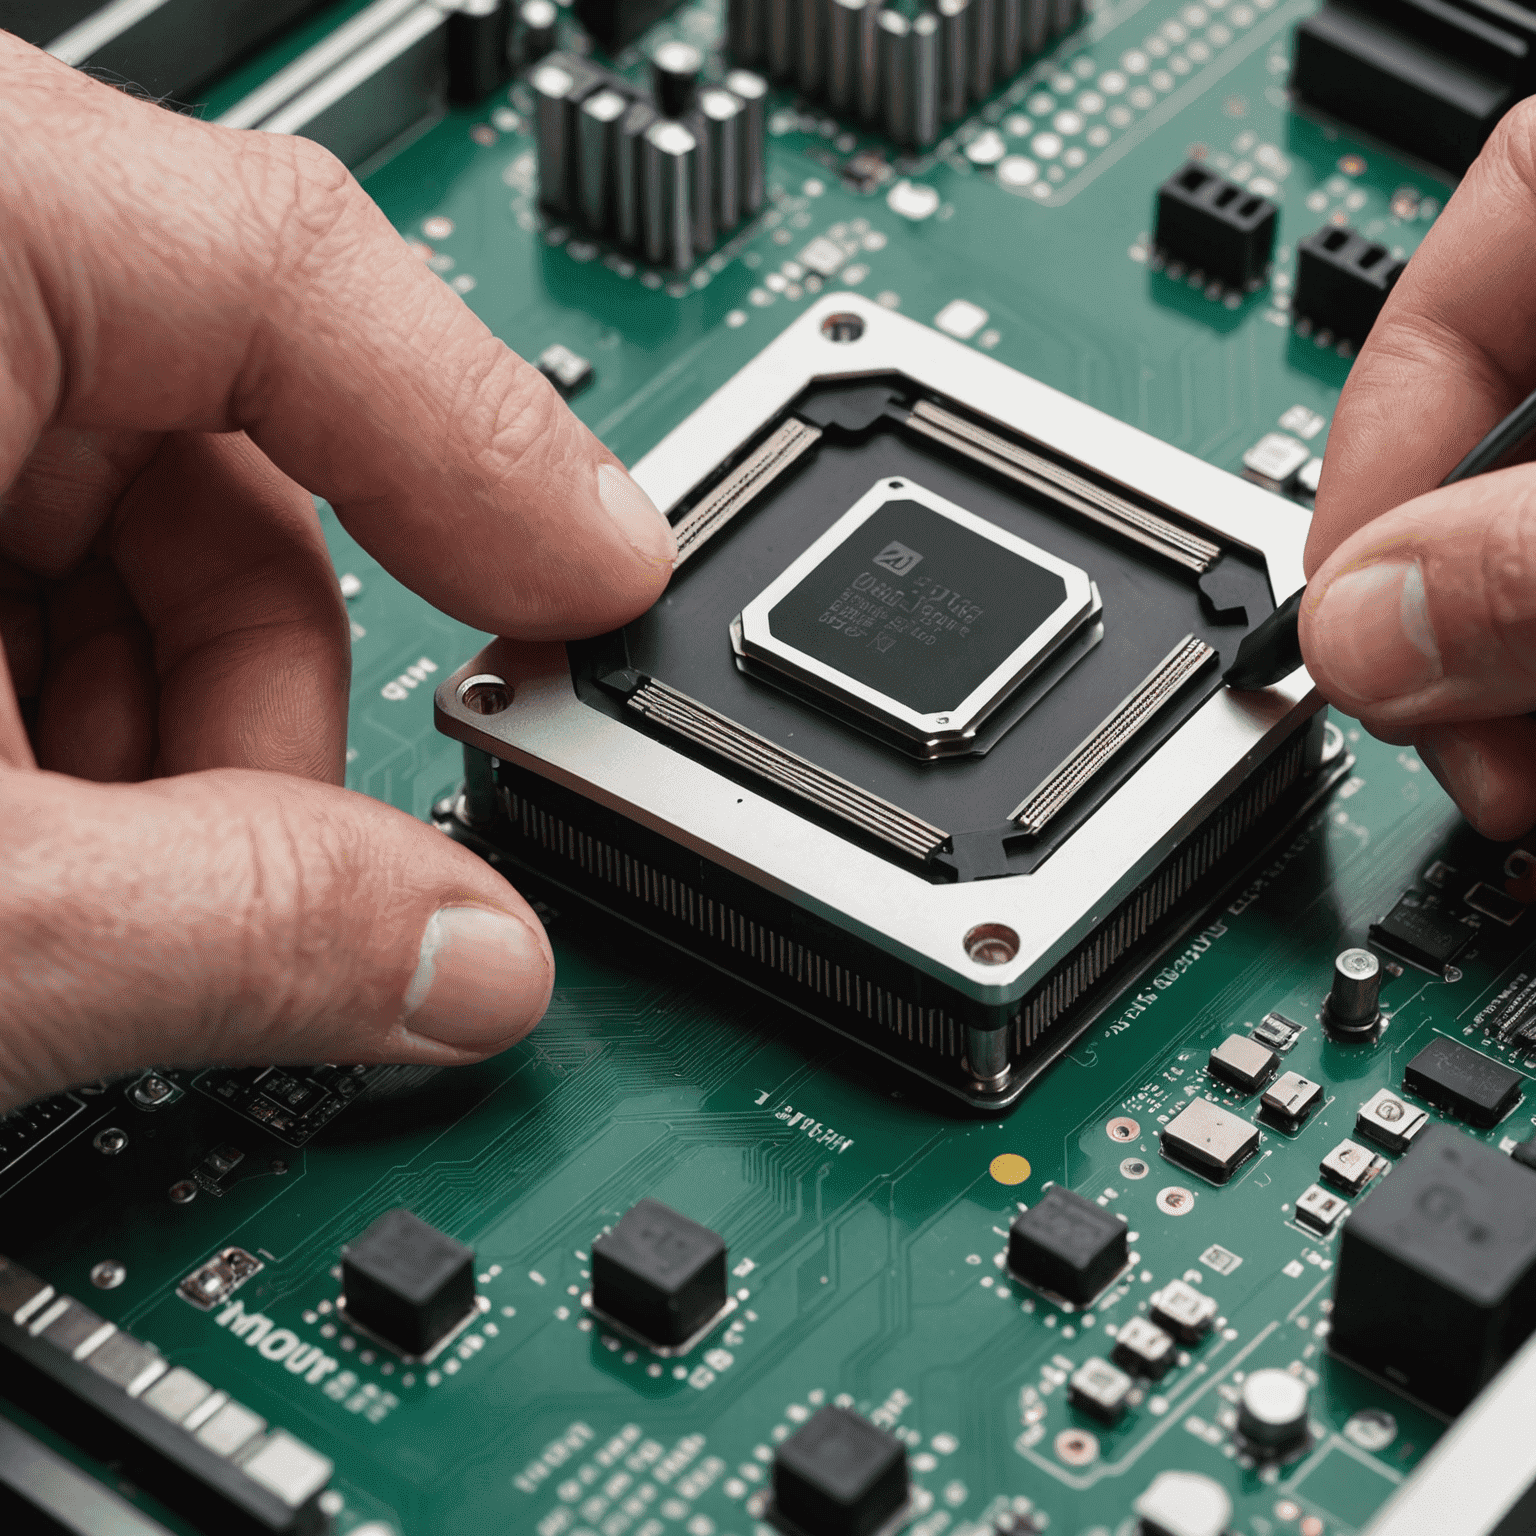
3. Install the CPU
Carefully place the CPU into the motherboard socket, matching the alignment indicators. Gently lower the retention arm to secure it.

4. Apply Thermal Paste and Attach the CPU Cooler
Apply a small amount of thermal paste to the CPU, then securely attach the CPU cooler following the manufacturer's instructions.
5. Install RAM
Insert the RAM modules into the appropriate slots on the motherboard, ensuring they click into place.
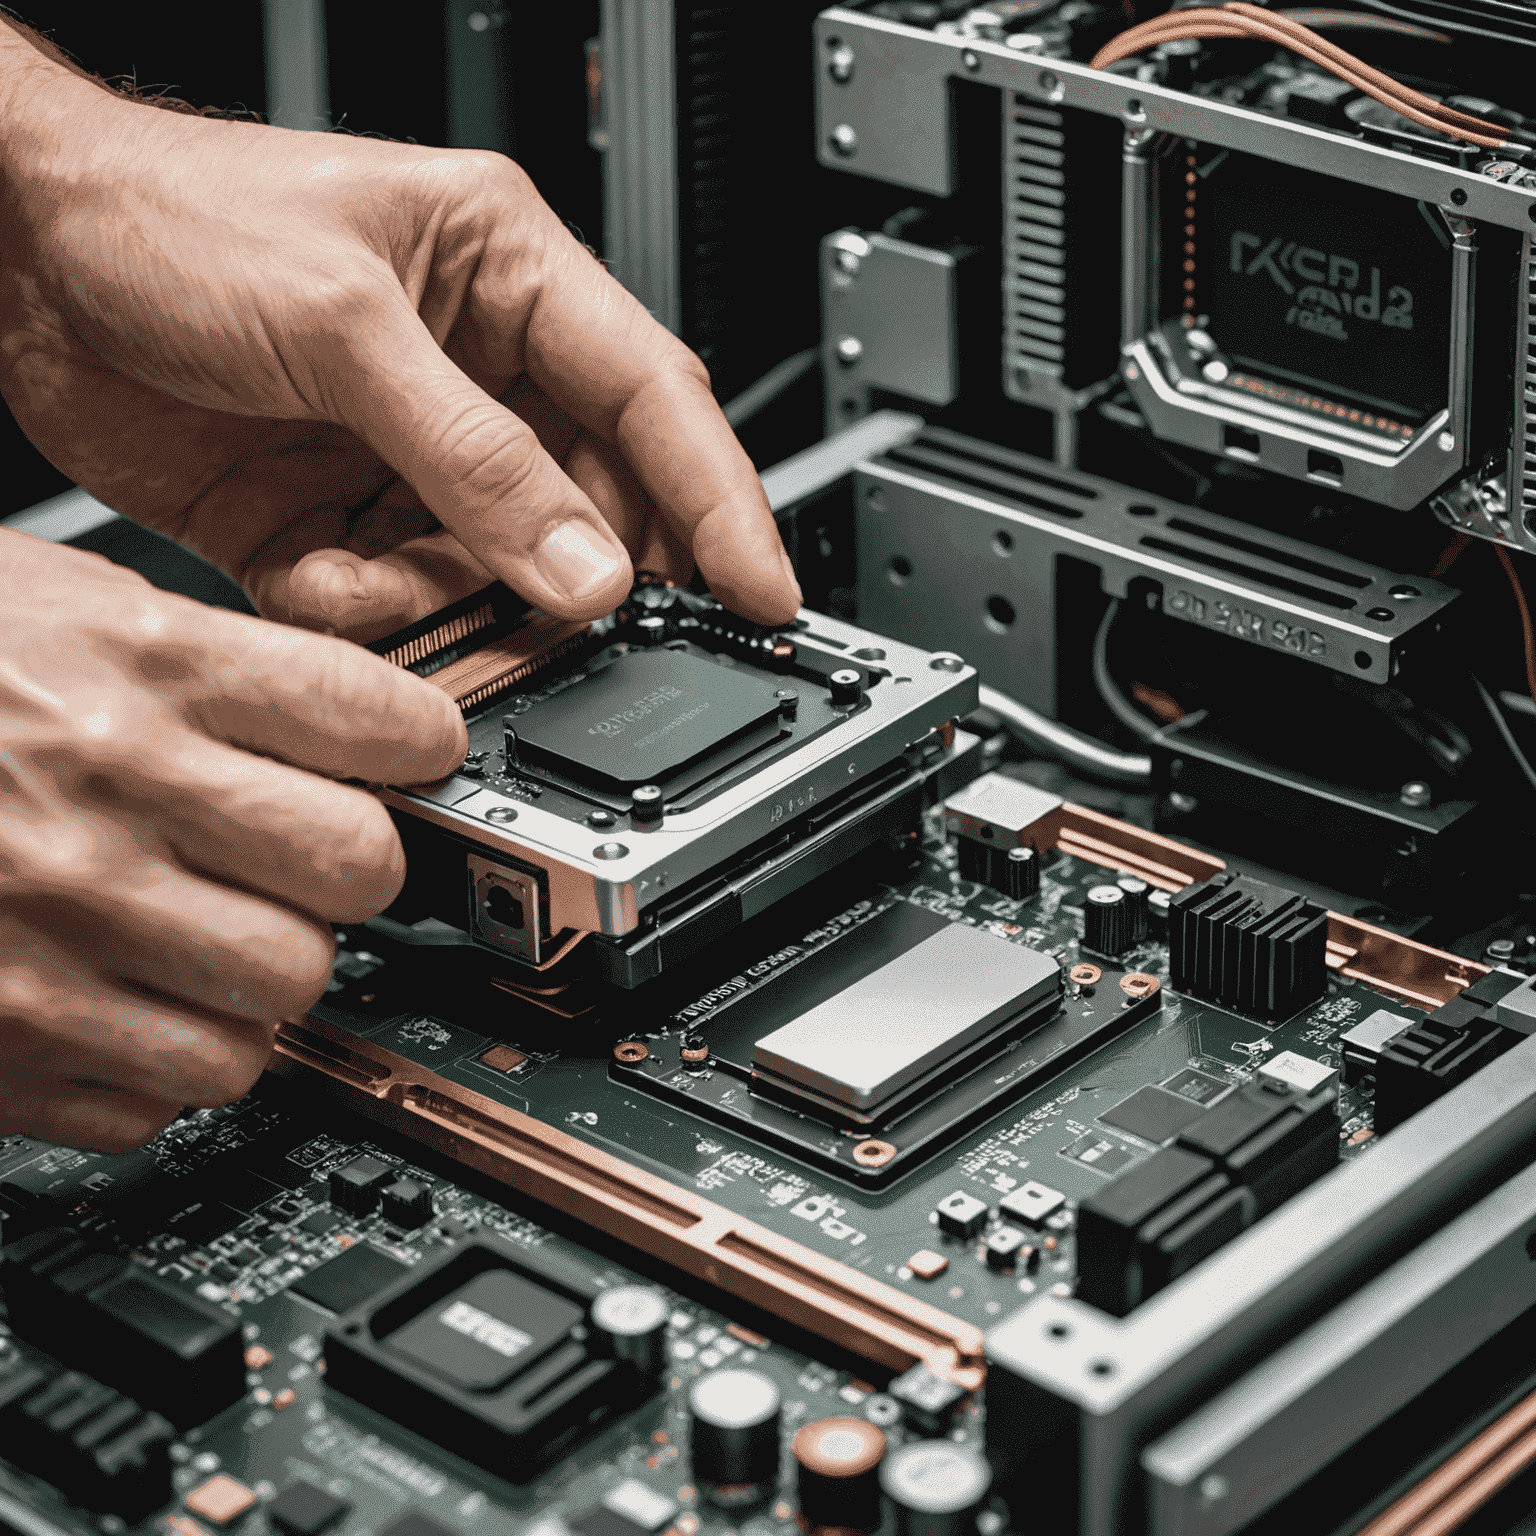
6. Mount the Motherboard
Place the I/O shield, then carefully mount the motherboard in the case, securing it with screws.
7. Install the Power Supply
Mount the PSU in the designated area of the case and connect the necessary cables to the motherboard.
8. Connect Storage Devices
Install your SSD and/or HDD in the appropriate bays and connect power and data cables.
9. Install the GPU
Carefully insert the graphics card into the PCIe slot and secure it to the case. Connect any necessary power cables.

10. Cable Management
Neatly arrange and tie down cables for better airflow and aesthetics.
11. Close the Case and Connect Peripherals
Secure the case panels, then connect your monitor, keyboard, mouse, and other peripherals.
12. Install Operating System and Drivers
Boot up your new gaming PC, install your preferred operating system, and download the latest drivers for optimal performance.
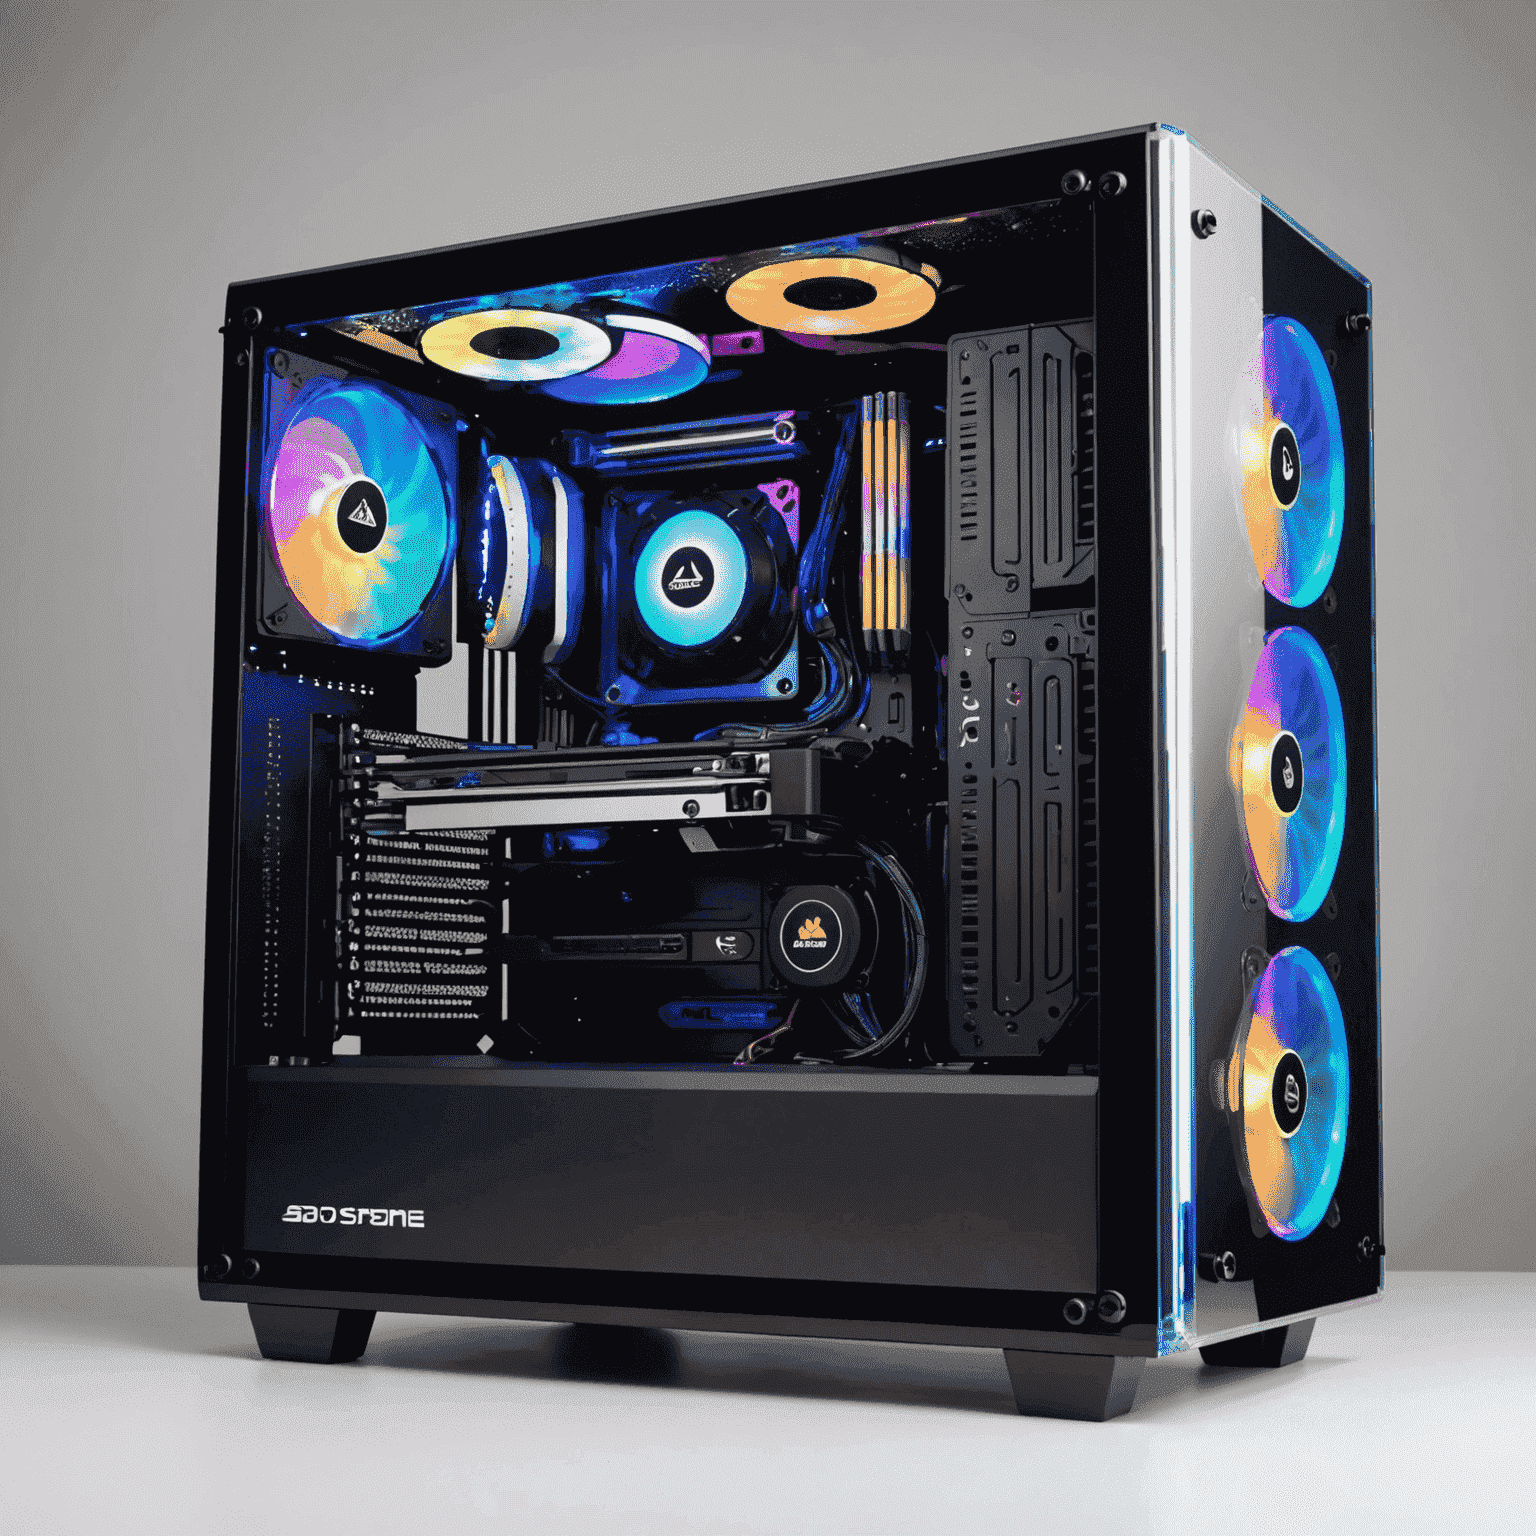
Congratulations! You've just built your first gaming PC. Remember to keep your drivers updated and perform regular maintenance to ensure your computer continues to deliver maximum performance for all your gaming needs.
